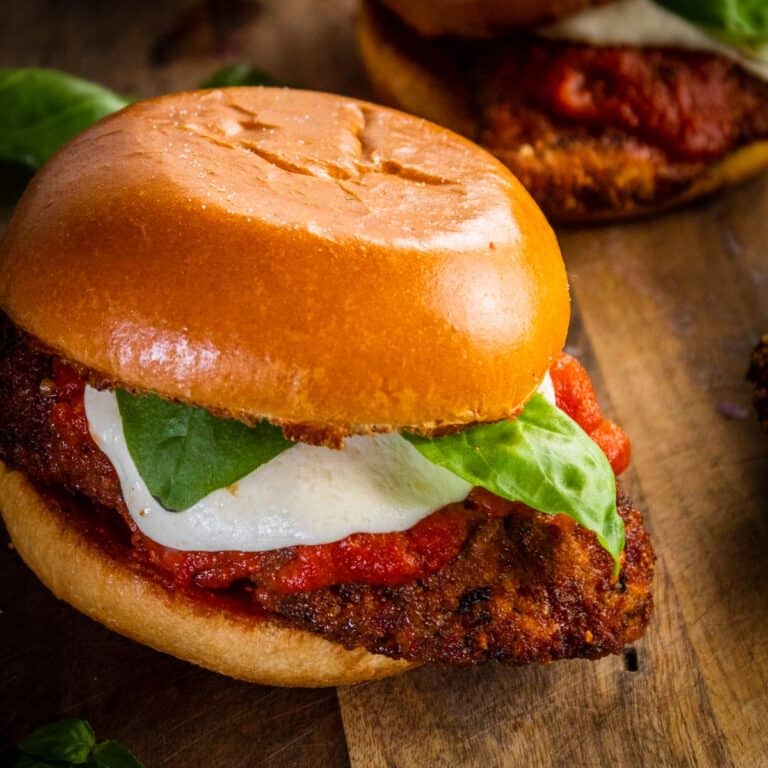
This is the BEST chicken parm sandwich, made easily at home. Crispy seasoned chicken is topped with rich marinara sauce, melty mozzarella and fresh basil on toasted garlic bread.
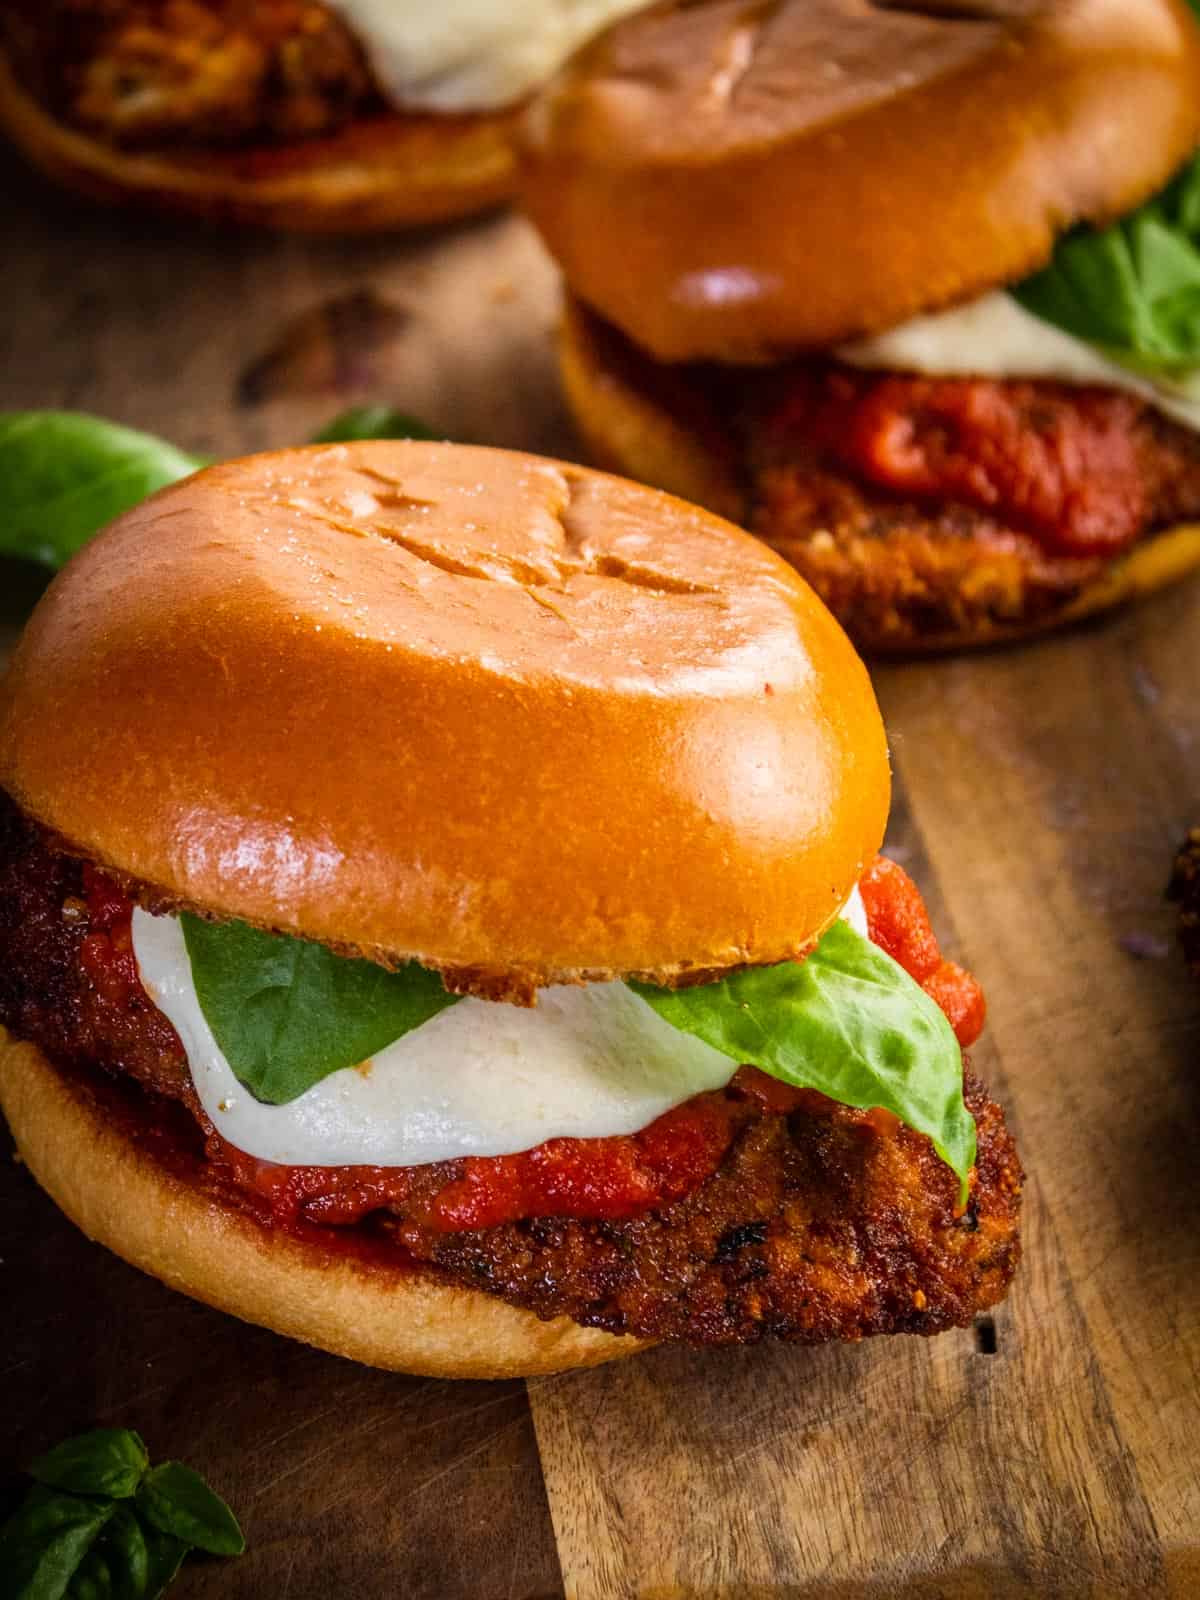
Chicken parmesan is a classic Italian-American dish made with crispy fried chicken cutlets that are topped with marinara and melty cheese. This chicken parm sandwich makes for a super fun twist on the classic dish.
Serve this easy chicken parm sandwich for an easy weeknight dinner creamy tomato soup with Italian herb focaccia and mini tiramisu cups!
Jump to:
🍅 Ingredient notes
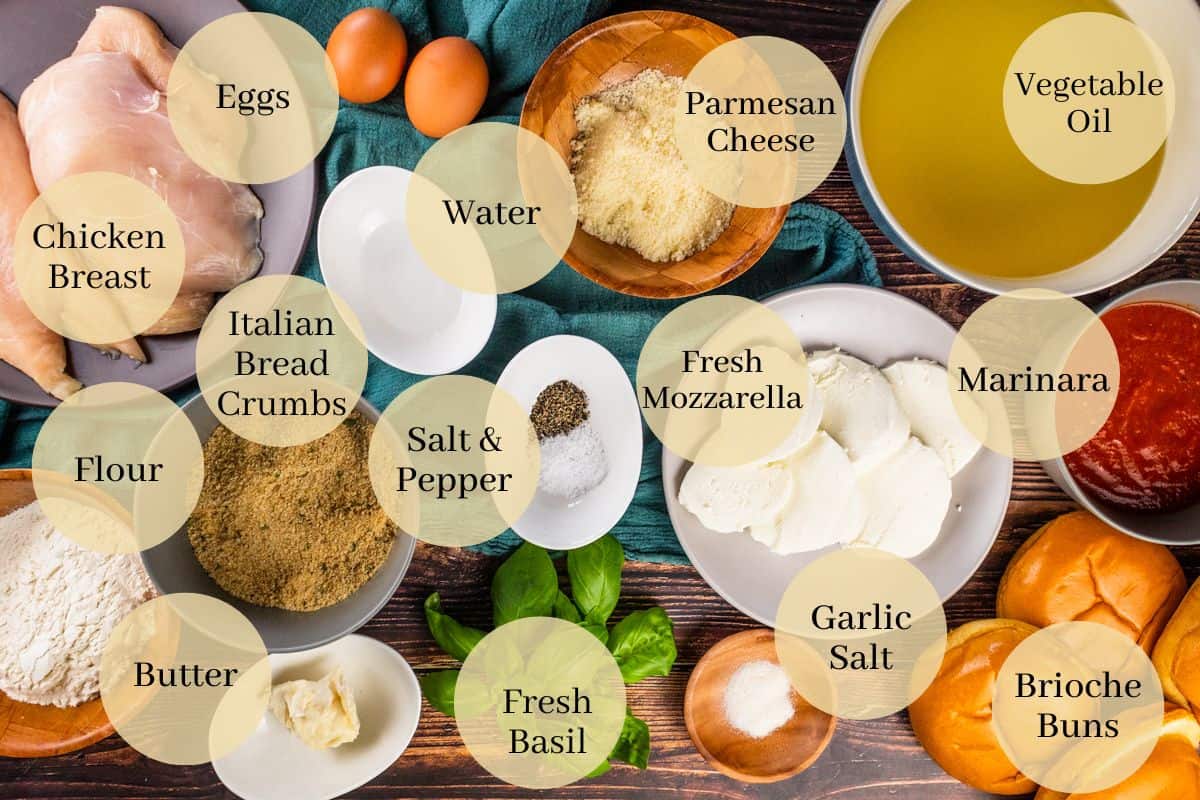
- Chicken - Thinly sliced boneless skinless chicken breasts or cutlets work great for this recipe. Picking pieces of chicken that are similar in size and thickness will help for even cooking. Larger pieces of chicken breast can be sliced in half or pounded out with a meat mallet to make them thinner. Chicken thighs may also be used, if desired.
- Breadcrumbs - I like using Italian breadcrumbs for this chicken parm sandwich. Plain or panko breadcrumbs may also be used as well and seasoned with Italian seasoning.
- Cheese - A fresh mozzarella ball that has been sliced into pieces is my preferred cheese for this recipe. Pre-sliced mozzarella or provolone cheese can also be used.
- Sauce - My old school Italian gravy recipe is the perfect tomato sauce for these chicken parm sandwiches. Your favorite store-bought marinara sauce may also be used.
- Basil - The fresh basil on this sandwich adds a bright fresh flavor. It is optional and can be omitted if needed. Basil pesto would also be a great addition in place of the fresh basil leaves.
- Buns - Brioche buns are soft and buttery and pair perfectly with the crispy chicken. A ciabatta roll, french rolls, or hamburger buns can also be used.
📋 Substitutions and variations
- Dairy-Free - The parmesan and mozzarella cheese can be substituted with dairy-free alternatives or omitted.
- Gluten-Free - Use gluten-free Italian breadcrumbs and gluten-free buns, or serve the chicken parm sandwich on lettuce wraps.
🔪 Step by step instructions
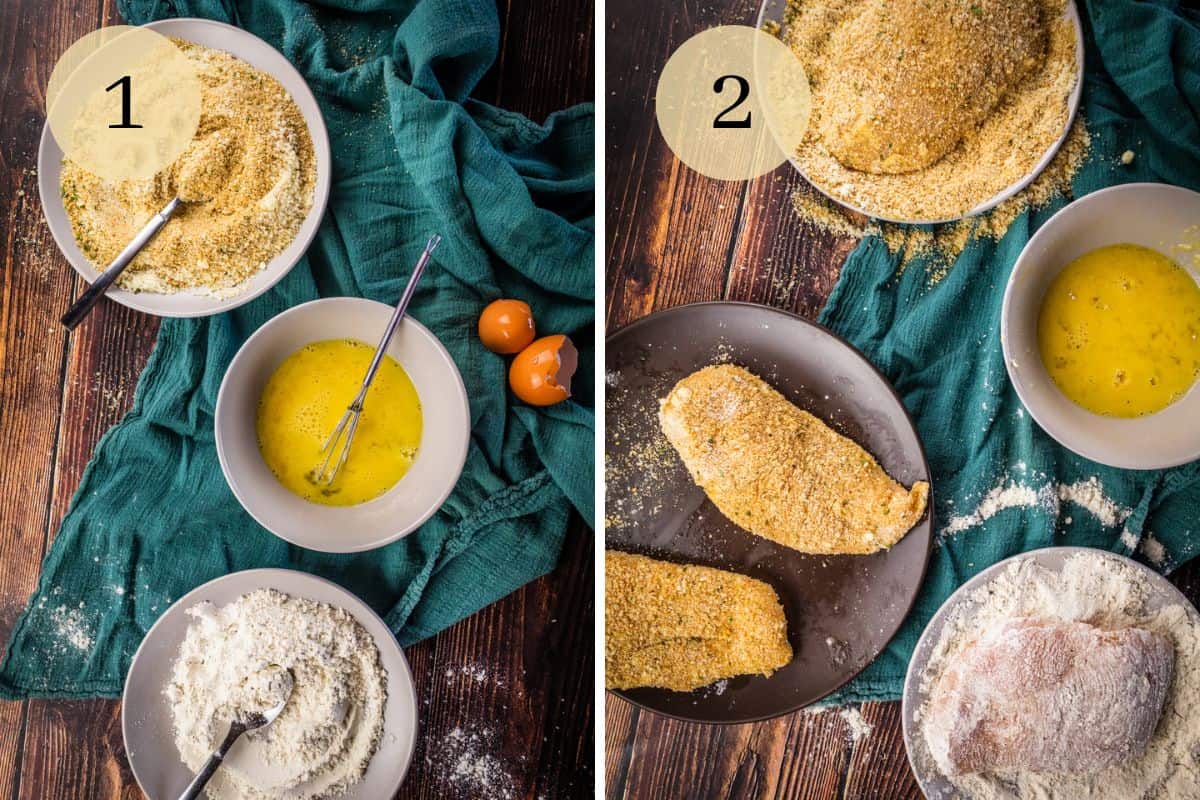
First, mix together the flour with the salt and pepper in a shallow bowl or dish, scramble the egg with the water in a second dish and mix the breadcrumbs with the parmesan cheese in a third dish.
Heat the oil in a large pot on the stove top over medium heat or in a deep fryer to 350˚. Dip each chicken breast in the flour to coat, then the egg mixture and then finally the breadcrumb mixture.
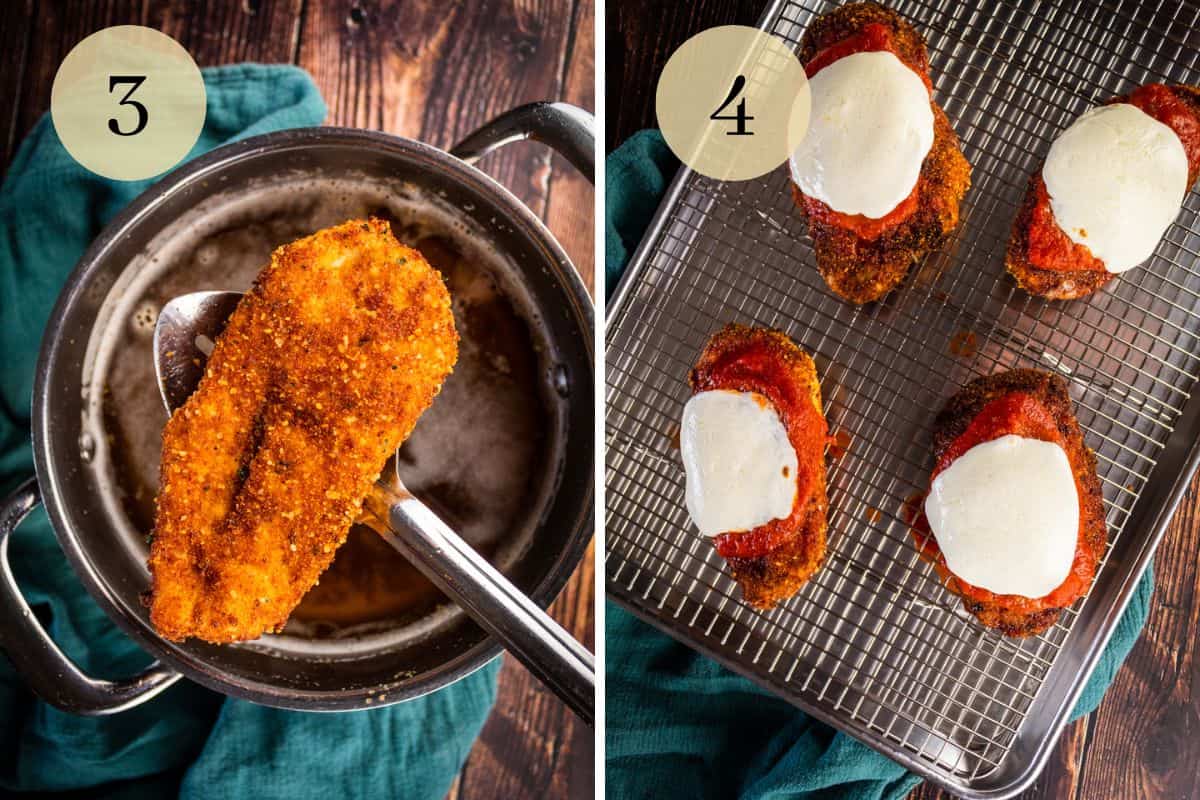
Fry the breaded chicken breasts in the hot oil for about 3-5 minutes on each side till golden brown and cooked through. Remove the chicken from the oil with a slotted spoon and allow it to rest on paper towels or a rack.
Top each crispy chicken breast with marinara and a slice of mozzarella cheese and place them on a baking sheet with a rack or parchment paper. Place under the broiler in the oven until the cheese is melted and slightly browned.
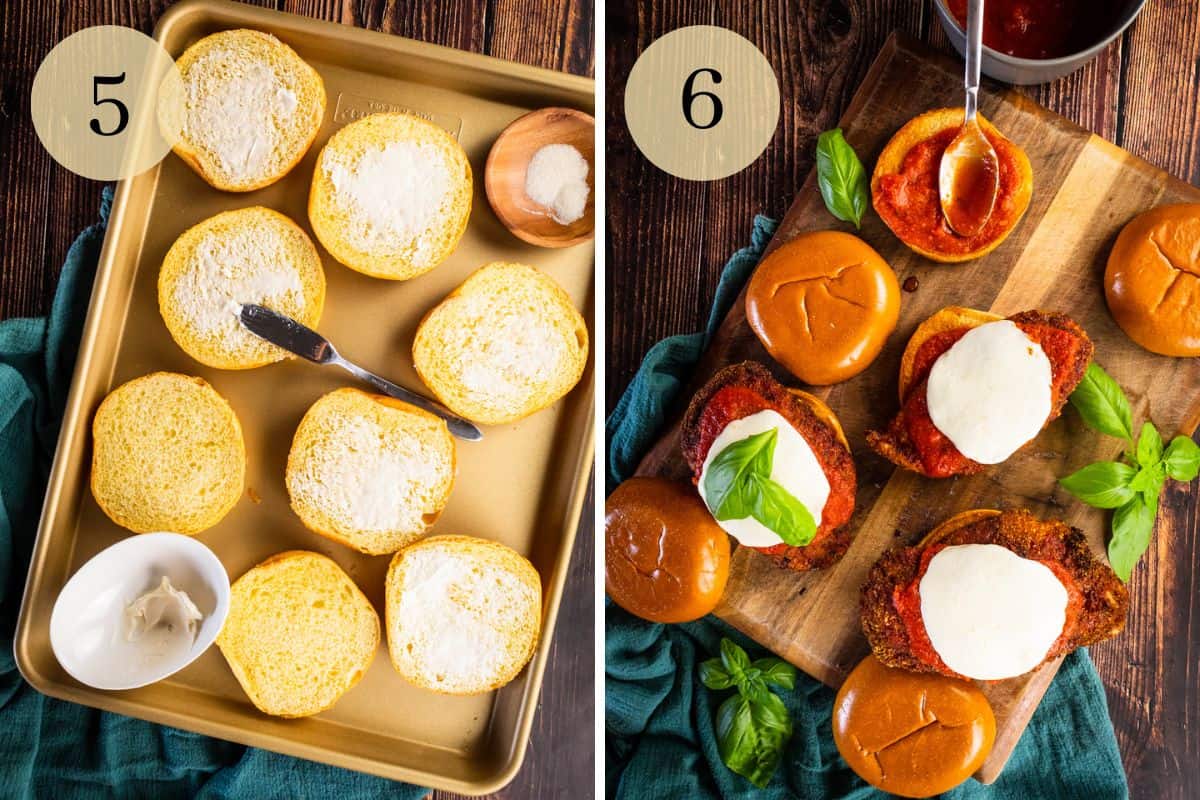
Spread the buns with butter and sprinkle lightly with garlic salt. Place them under the broiler until they are lightly toasted. Add more marinara to the bottom toasted bun, top with a piece of chicken, fresh basil and finally the top bun.
If you ever don't recognize a tool or skill that is mentioned, be sure to look it up in our Glossary of Cooking Terms and Definitions for more information.
⭐ Expert tips
- When breading the chicken, make sure to coat each piece of chicken completely in the mixture, then shake or let the excess mixture drip off before going on to the next step in breading. This will help to prevent the breading from getting too thick.
- Use tongs to transfer the chicken in between the steps in the breading process so that your fingers don't get coated with the mixture.
- Use an infrared thermometer to check the oil to make sure it stays at 350˚ during the frying process. This will help to make sure the chicken doesn't burn or cook too slowly.
- Fry the chicken one or two at a time so the pan doesn't get crowded and bring down the temperature of the oil.
- Always make sure chicken is cooked to an internal temperature of 165˚ when checked with a kitchen thermometer.
- Let the chicken drain on a rack or pat with a paper towel to remove any excess oil so the sandwiches aren't overly greasy.
- Keep an eye on the chicken and buns when they are under the broiler so that the cheese and bread do not burn.
⏲️ Make ahead instructions
The chicken can be breaded and stored on a rack over a sheet pan, wrapped in plastic wrap in the refrigerator, up to 8 hours ahead of time. Follow the remaining directions for cooking and building the chicken parm sandwich, as instructed.
🥡 Storage suggestions
This chicken parm sandwich will keep in an airtight container in the refrigerator for 3-5 days and can be reheated in the microwave or oven, separately from the buns, until heated through. They also can be crisped up under the broiler in the oven, an air fryer or toaster oven.
🍔 More sandwich recipes
If you loved this delicious chicken parm sandwich recipe, check out these other sandwich recipes that I know you will love too!
- Spicy Buffalo Chicken Burgers
- Buttermilk Fried Chicken Sandwich
- Slow Cooker Pulled Pork Sliders
- Italian Beef Au Jus
Recipe

Best Chicken Parm Sandwich
Ingredients
- ½ cup all purpose flour
- 1 teaspoon kosher salt
- ½ teaspoon black pepper
- 2 large eggs
- 1 Tablespoon water
- ¾ cup Italian breadcrumbs
- ¼ cup grated parmesan cheese
- 4 each thinly sliced chicken breasts, 4-6 ounces each
- 1 cup old school italian gravy, or marinara sauce
- 3-4 cups vegetable oil, for frying
- 4 ounces fresh mozzarella, cut into 4 slices
- 4 each brioche buns, or hamburger buns
- 2 Tablespoons unsalted butter
- teaspoons garlic salt
- fresh basil leaves, optional
Instructions
- In a bowl or shallow dish, whisk together the flour with the salt and pepper and set aside.
- In a second bowl or shallow dish, scramble the eggs together with the water and set aside.
- In a third bowl or shallow dish, mix the Italian breadcrumbs with the parmesan cheese and set aside.
- In a deep sided pot over medium heat on the stove top or in a deep fryer, heat the oil to 350˚.
- While the oil is heating, dip each chicken breast into flour mixture to coat, shake the excess flour from it and move it to the egg mixture. Flip the chicken over to coat it with the egg, let the excess mixture drip from the chicken and move it to the bread crumb mixture. Flip to coat, gently pressing the breadcrumbs into the chicken. Repeat with the remaining pieces of chicken, placing them in an even layer on a rack or plate until all pieces are breaded.
- Working just a piece or two at a time, fry the chicken in the hot oil for 3-5 minutes on each side until the internal temperature reads 165˚ when checked with a kitchen thermometer.
- Remove the fried chicken from the hot oil, using a slotted spoon and place them on a cooling rack or paper towels to allow the excess oil to drain from them. Repeat with the remaining pieces until all of the chicken has been cooked.
- Preheat the broiler in the oven and place the fried chicken on a sheet pan lined with parchment paper or on a rack.
- Top each piece of chicken with 2 Tablespoons of sauce and a slice of mozzarella cheese and place under the broiler for 2-3 minutes until the cheese is melted and slightly browned.
- Spread both insides of the buns with butter and sprinkle lightly with garlic salt. Place the buns cut side up on a sheet pan lined with parchment paper and place under the broiler for 1-2 minutes until lightly browned.
- Spread each bottom bun with another 2 Tablespoons of sauce, top with a piece of fried chicken, fresh basil and then finally the top bun.
Notes
- Make sure to coat each piece of chicken completely in each step in the breading process, then shake or let the excess mixture drip off before going on to the next step in breading so the breading doesn't get too thick
- Use tongs to transfer the chicken in between the steps in the breading process so that your fingers don't get coated with the mixture.
- Use an infrared thermometer to check the oil to make sure it stays at 350˚ during the frying process. This will help to make sure the chicken doesn't burn or cook too slowly.
- Fry the chicken one or two at a time so the pan doesn't get crowded and bring down the temperature of the oil.
- Always make sure chicken is cooked to an internal temperature of 165˚ when checked with a kitchen thermometer.
- Let the chicken drain on a rack or pat with a paper towel to remove any excess oil so the sandwiches aren't overly greasy.
- Keep an eye on the chicken and buns when they are under the broiler so that the cheese and bread do not burn.
Substitutions and Variations
- Chicken - Thinly sliced boneless skinless chicken breasts or cutlets work great for this recipe. Larger pieces of chicken breast can be sliced in half or pounded out with a meat mallet to make them thinner. Chicken thighs may also be used, if desired.
- Breadcrumbs - Plain or panko breadcrumbs may also be used as well and seasoned with Italian seasoning.
- Cheese - A fresh mozzarella ball, pre-sliced mozzarella or provolone cheese can be used for this sandwich.
- Sauce - My old school Italian gravy recipe is the perfect tomato sauce for these chicken parm sandwiches. Your favorite store bought marinara sauce may also be used.
- Basil - The fresh basil on this sandwich adds a bright fresh flavor. It is optional and can be omitted if needed. Basil pesto would also be a great addition in place of the fresh basil leaves.
- Buns - Brioche buns are soft and buttery and pair perfectly with the crispy chicken. A ciabatta roll, french rolls or hamburger buns can also be used.
- Dairy Free - The parmesan and mozzarella cheese can be substituted with dairy free alternatives or omitted from the recipe.
- Gluten Free - Use gluten free italian breadcrumbs and gluten free buns, or serve these sandwiches on lettuce wraps.

 By
By 


Valerie
When you place the chicken in the oven under the broiler, can it just stay on the wirerack it was draining on ( after it's drained place that whole rack under broiler)? Instead of moving it to a parchment paper lined pan?
Amanda
Yes, absolutely! Just make sure to remove any paper towels if you have them underneath the rack, just to be safe.