 By
By 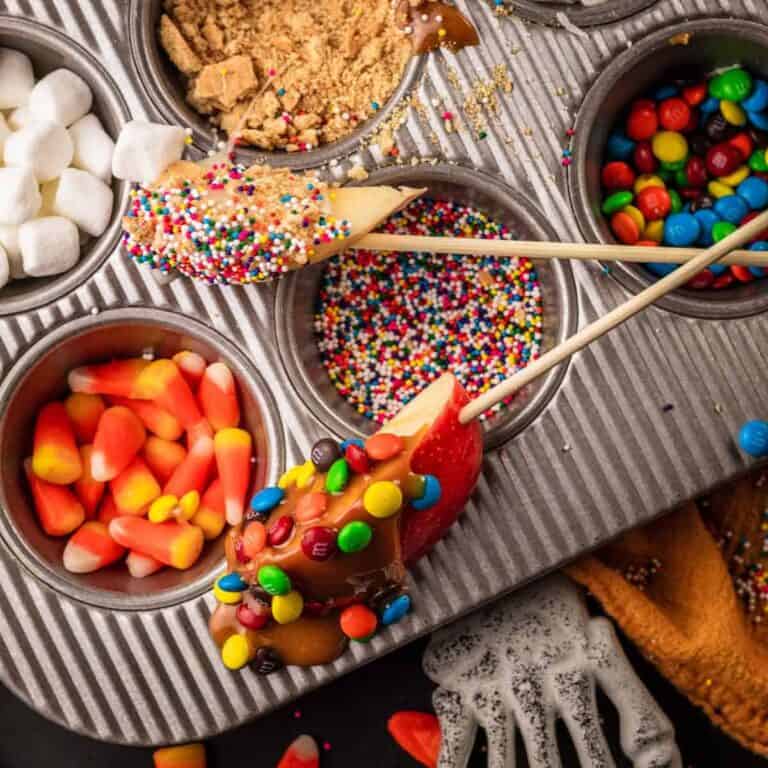

Looking for a fun and festive treat that's perfect for Halloween parties, fall birthdays, or cozy nights in? This Caramel Apple Bar is a delicious and interactive way to serve apples with all your favorite toppings. Set it up buffet-style so everyone can create their own sweet treat - no baking required!
My kids love caramel apples in the fall-who doesn't? But making traditional caramel apples can get pretty messy.
I thought of this caramel apple bar idea, using apple slices on skewers. I tried it out at a fall party with my sister and her family, and it was a hit! Everyone loved being able to choose their toppings, and cleanup was SO MUCH easier. The kids had a blast mixing and matching, too!
Jump to:
Ingredients and Equipment You Will Need
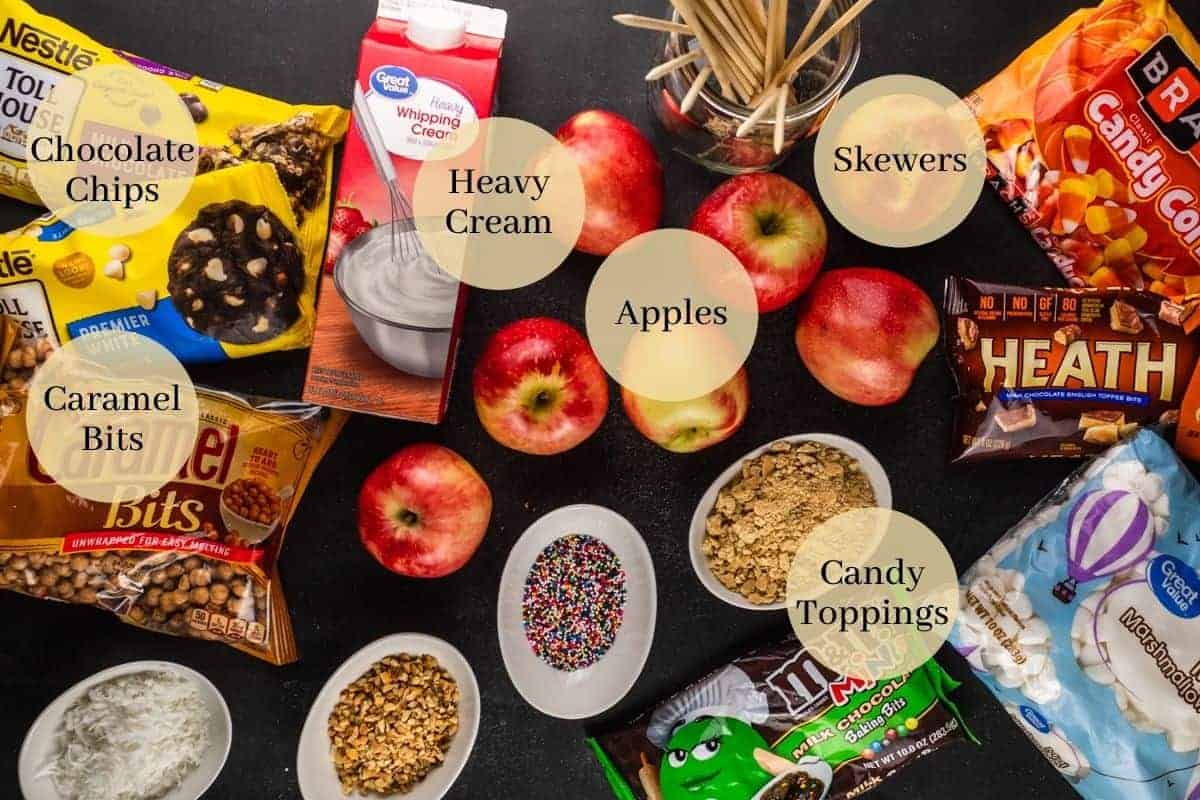
- Apples - There are plenty of apple varieties that work well for dipping! My favorites are Cosmic Crisp, Honeycrisp, Fuji, and Pink Lady.
- Sauces - In addition to caramel, I like to offer milk and white chocolate dipping sauces. If you prefer a shortcut, pre-made dips from the store work just as well. Salted caramel, marshmallow fluff, and hot fudge are also fun options.
- Toppings - You have total creative freedom with the candy toppings! I suggest using small candies or cutting larger ones into small pieces so they stick easily to the sauces. Chopped nuts, mini sprinkles, and mini chocolate-coated candies work especially well.
Try This Fun Alternative
- Apple Nachos - Serve the apple slices in a bowl or platter. Guests can arrange the slices on their plates and add sauces and toppings like nachos! For easier serving, use squeeze bottles for the sauces. This idea cuts down on the mess even more!
How to Set Up Your Own Caramel Apple Bar for Fall
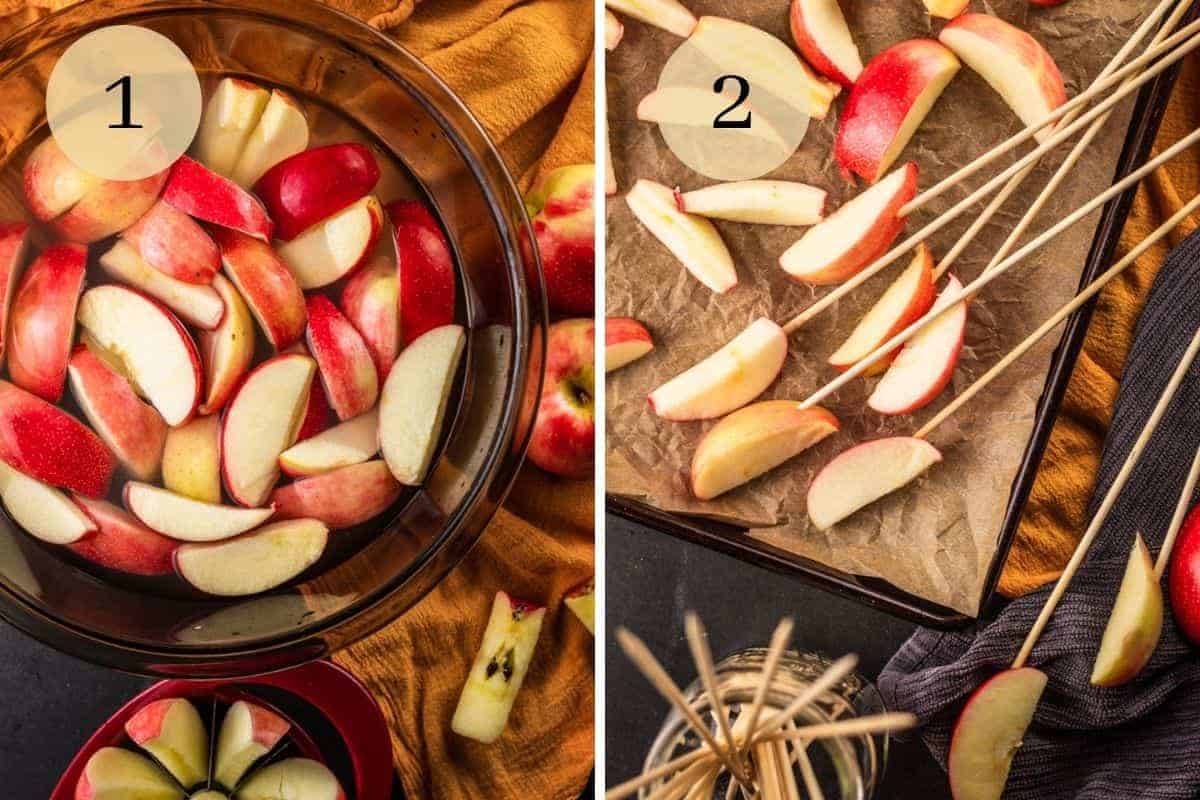
Wash & Cut - Start by washing, coring, and slicing each apple into 8 wedges. Place the apple slices in a large bowl with 3 cups of water and 1 ½ teaspoons of salt, letting them soak for 5 minutes. Rinse the slices under cool water in a colander, lay them out on a kitchen towel, and pat them dry.
Skewer - Insert a bamboo skewer into each apple slice, then arrange them on a platter or a lined sheet pan.
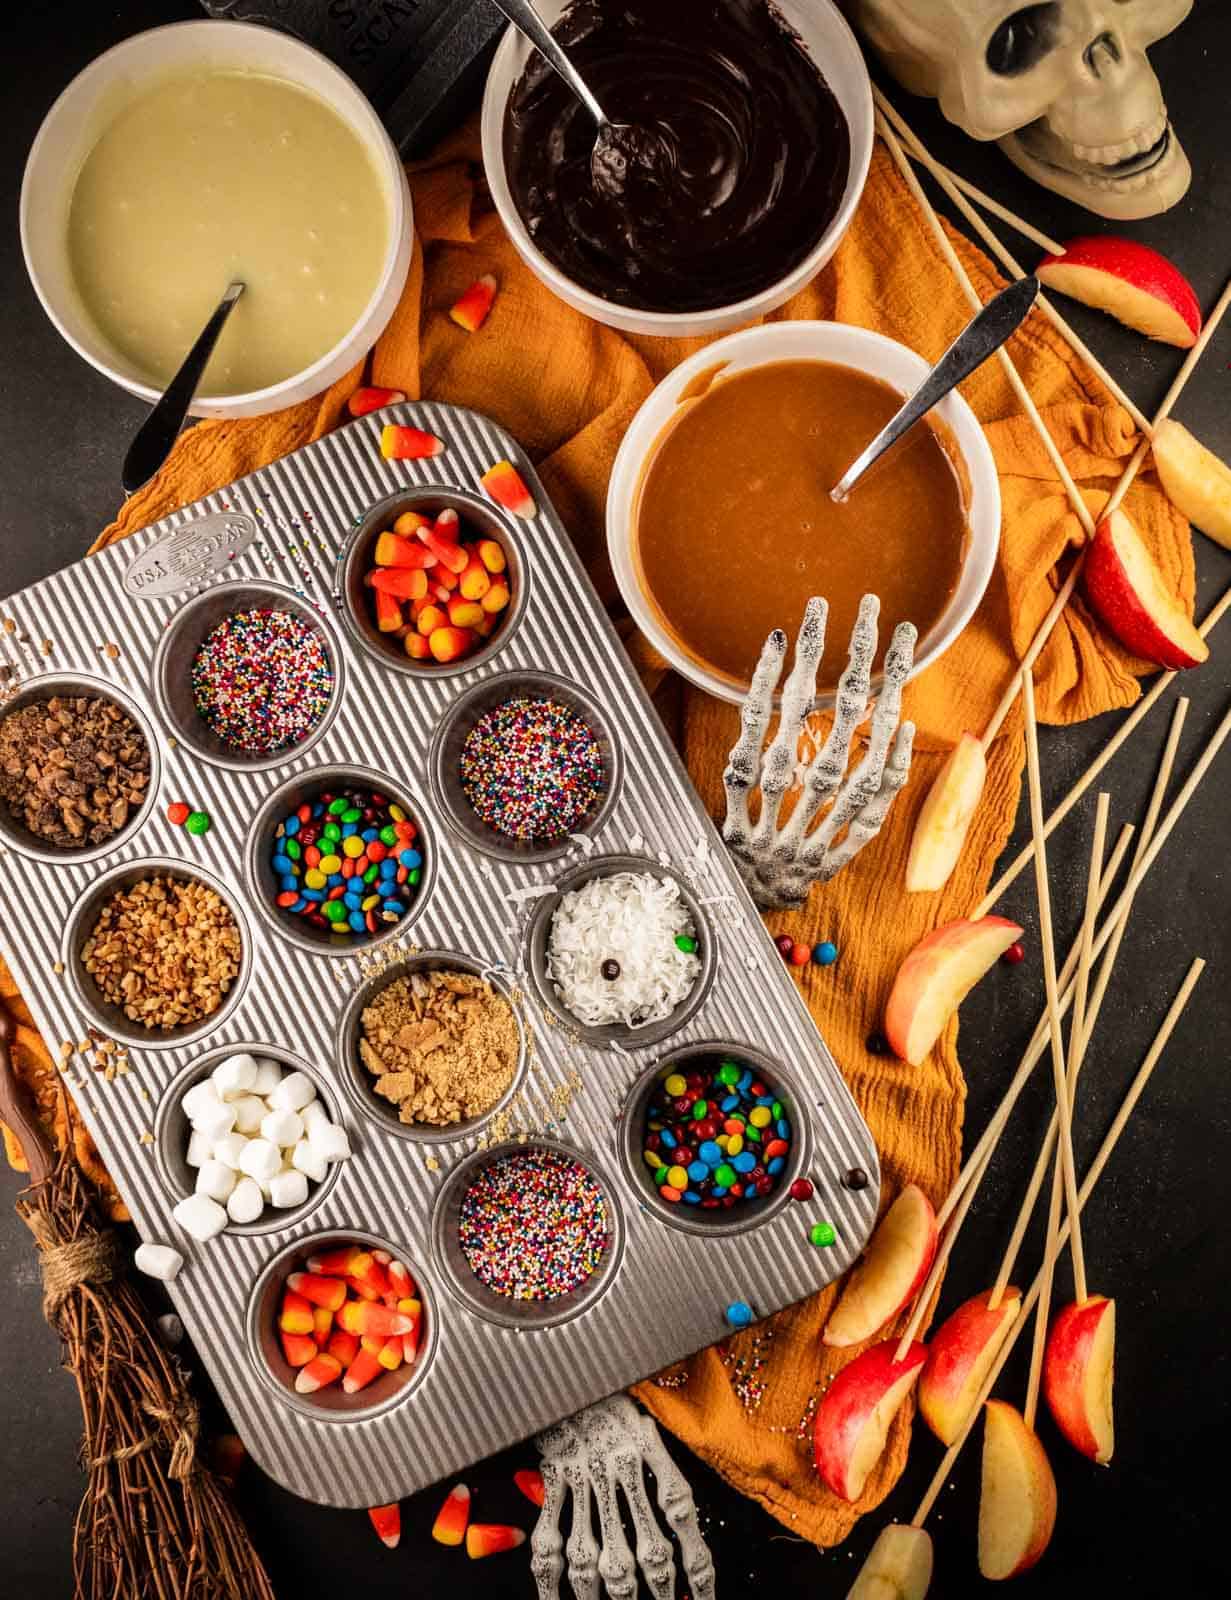
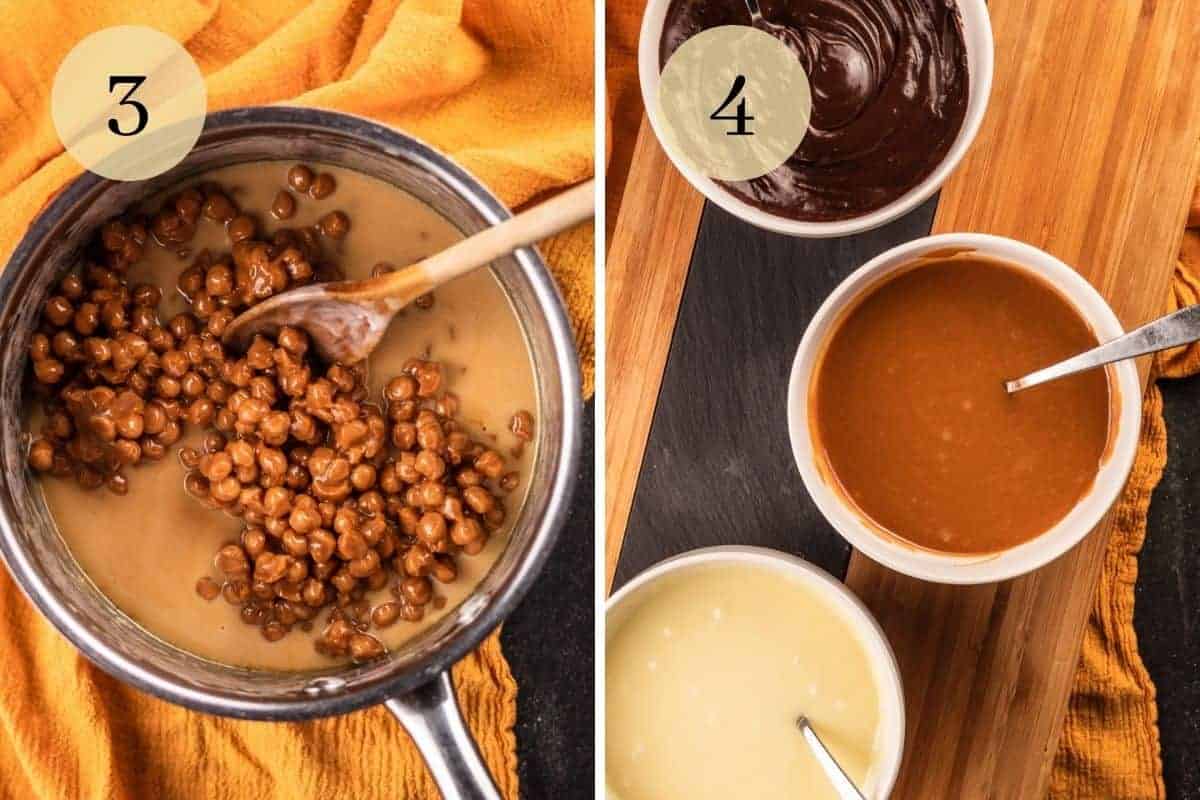
Caramel - Combine ½ cup of the heavy cream with the caramel bits in a small pot over medium-low heat. Stir frequently until they are melted into a smooth caramel sauce. Remove from the heat and pour into a bowl or container for serving.
Chocolate - Repeat the previous step with the milk and white chocolate chips until all three dipping sauces are completed.
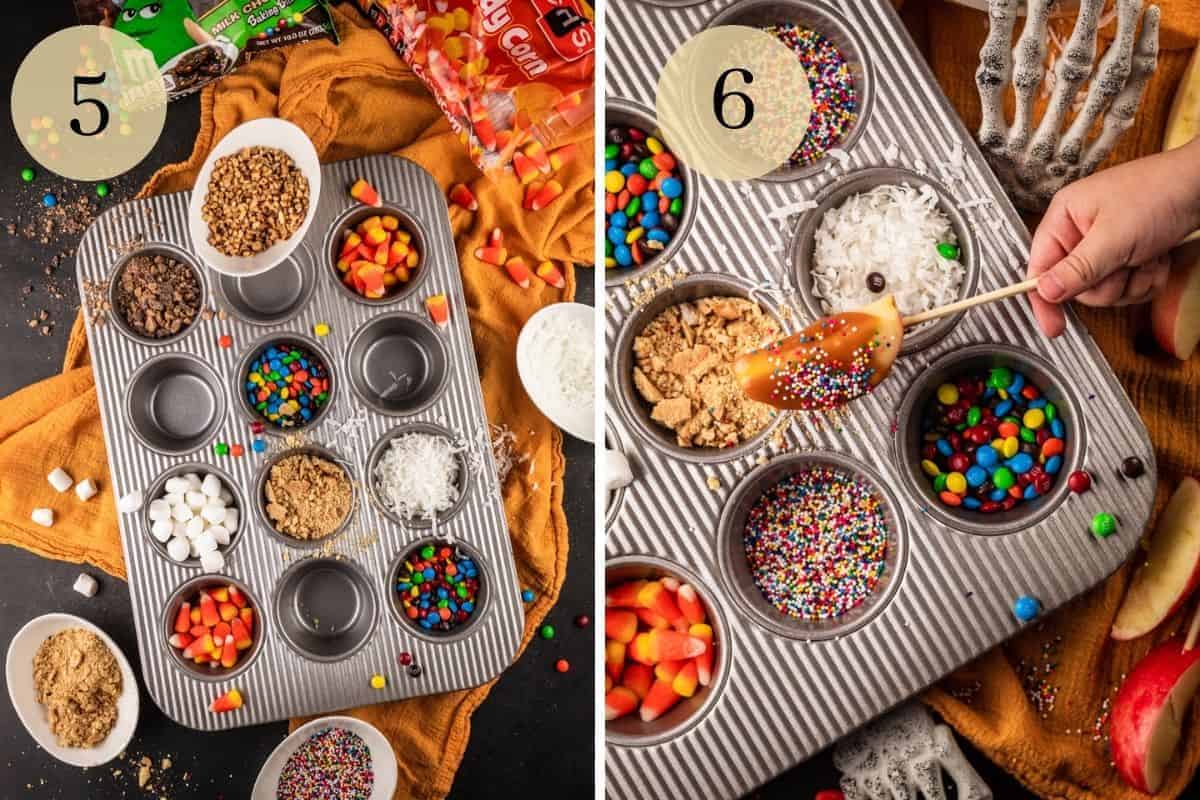
Candy - Place all the topping choices into small bowls or containers. (I like to use a muffin tin!) Let guests dip the apples into the dipping sauces and mix and match the toppings!
⏲️ Kitchen Time Saver
Prepare the sauces up to 2 days ahead. Cool them completely and store them in airtight containers in the refrigerator. Reheat in a small pot over low heat, stirring frequently, until they are warm enough for dipping. Apples can be soaked, patted dry, and skewered 1-2 hours ahead. Store them on a sheet pan wrapped in plastic wrap in the refrigerator.
How to Serve and Decorate
Containers - Serve the dipping sauces in heat-proof containers such as ceramic bowls, small baking dishes, or mason jars. This keeps them warm for about 30-45 minutes. If needed, reheat the sauces in the microwave for 15-30 seconds.
Slow Cooker - For extended serving time, add an inch of water to a slow cooker set to low heat. Place the dipping sauces in mason jars in the water, and check the water level periodically.
Heating Pad - Alternatively, set a heating pad covered with a towel or tablecloth under the bowls of dipping sauces to keep them warm throughout serving.
Festive - Serve everything on a fall-themed platter or rustic wood board. You can decorate with small pumpkins, fall leaves, or fun Halloween decorations!
Glossary
If you don't recognize a tool or skill I mentioned, you can look it up in my Glossary of Cooking Terms and Definitions for more information!
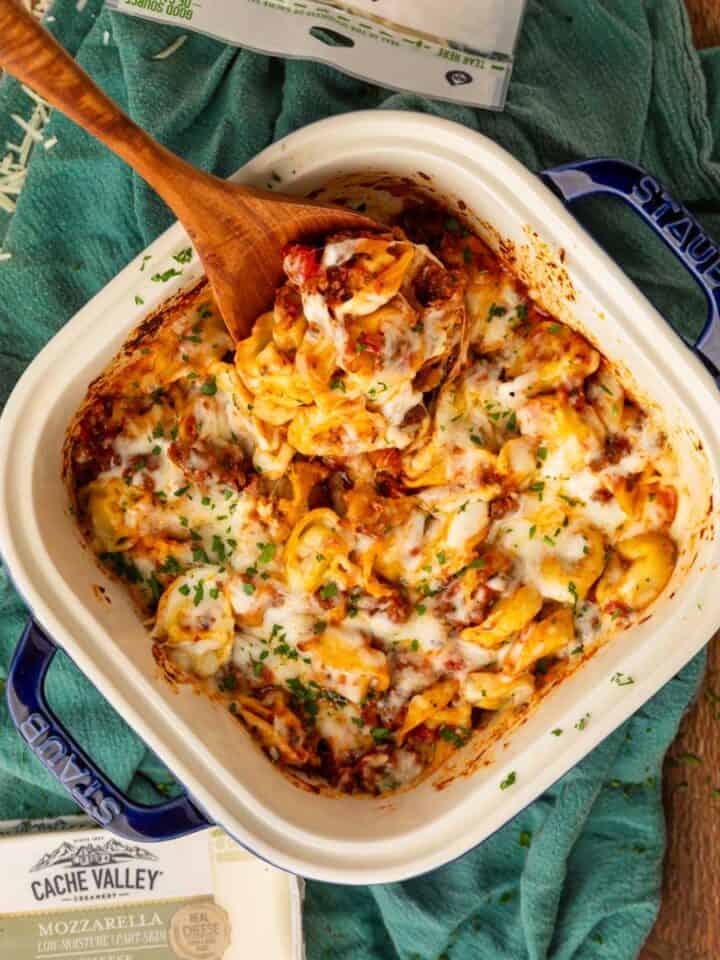
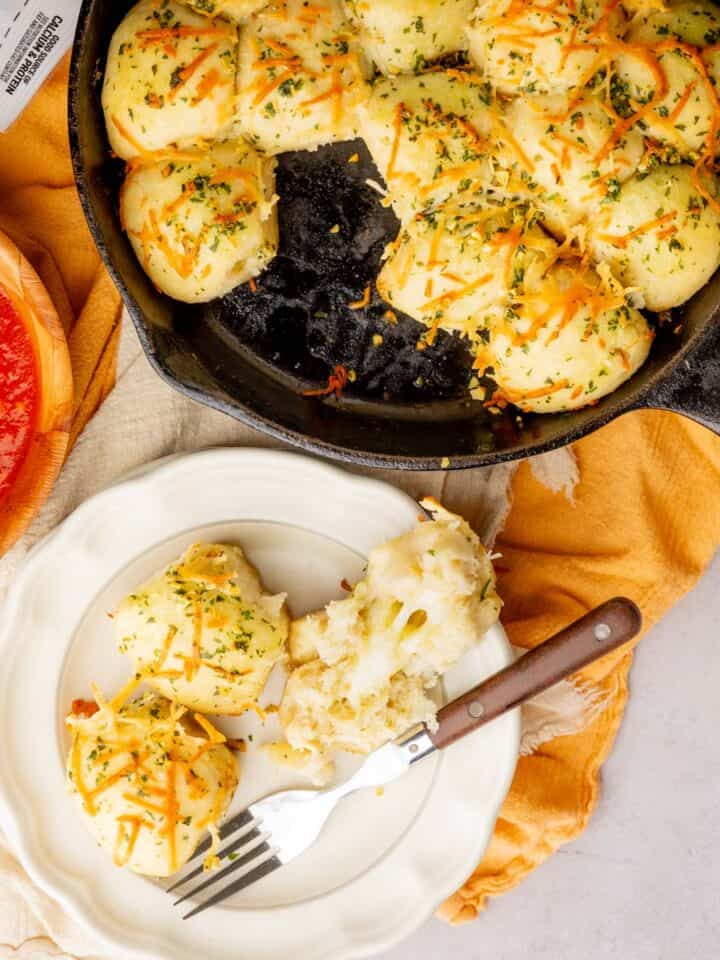
🍁 Fun Fall Desserts
If this Sliced Caramel Apple Dipping Bar has inspired you, here are some other festive fall treats you can make.
Recipe

Caramel Apple Bar
Equipment
Ingredients
Sliced Apple Skewers
- 10 large apples
- 3 cups water
- 1 ½ teaspoon salt
- 1 package bamboo skewers
Dipping Sauces
- 1 ½ cups heavy cream
- 11 ounces caramel bits
- 11 ounces milk chocolate chips
- 11 ounces white chocolate chips
Candy Topping Ideas
- chopped nuts
- crushed graham crackers
- mini marshmallows
- shredded coconut flakes
- crushed toffee bits
- mini chocolate candies
- sprinkles
- candy corn
Instructions
Sliced Apple Skewers
- Wash, core, and slice each apple into 8 pieces. Fill a large bowl with the water and salt and let the apples soak for 5 minutes to help prevent browning.
- Rinse the apples in a colander, place on a kitchen towel and pat them dry.
Dipping Sauces
- In a small pot, combine the caramel bits with ½ cup of the heavy cream. Heat over medium low heat on the stovetop, stirring frequently, until the caramel bits are almost completely melted. Do not allow the mixture to boil.
- Remove from the heat and continue to whisk into a smooth sauce. Pour into a heat proof serving bowl or container.
- Repeat with the milk and white chocolate chips to complete all three dipping sauces.
Presentation
- Place the candy toppings into shallow bowls, plates, or a muffin tin.
- Set out the dipping sauces with the toppings and the sliced apple skewers. Dip the apple slices into the different dipping sauces and mix and match the toppings.
Notes
- Sauces - Pre-made dips can be purchased from the grocery store. Other ideas include salted caramel, hot fudge, or marshmallow fluff.
- Containers - The sauces will stay soft enough for dipping in heat-proof containers like mason jars, small baking dishes, or ceramic bowls for 30-45 minutes. If needed, reheat them in the microwave for 15-30 seconds.
- Heating Pad - Place a heating pad under the serving containers, covered in a towel or tablecloth, to help keep them warm.
- Crock Pot - For a longer period, place an inch of water in a slow cooker and place the dips in mason jars in the water. Check the water periodically and add to it, if needed.
- Toppings - Use smaller pieces of candy so they easily stick to the apples. Serve with small spoons so people can pour the toppings onto the dipped apples to avoid too much mess.
- Apple Nachos - Let guests arrange the apple slices on their plates and top them with sauces and candy, like nachos!
- Make Ahead - Slice, soak, and pat dry the apples 1-2 hours ahead. Store them on a sheet pan wrapped in plastic wrap in the refrigerator. Prepare the sauces up to 2 days ahead of time. Cool them completely and then store them in airtight containers in the refrigerator. Reheat in a small pot on the stovetop over low heat, stirring frequently, until they are warm enough for dipping.


Lily Kershaw
I absolutely LOVED the caramel apple nachos idea at the end of your post! Typically when we've done caramel apples in the past it just creates a sticky mess everywhere. But the nachos were easy to make and relatively mess-free! I think this is the start of a new fall tradition in my house.
Amanda
Awesome Lily! So happy to hear that.
Gina E
How long does the caramel stay liquified?
Amanda | Saporito Kitchen
The caramel should stay pretty liquified for about an hour. When I serve it in mason jars, if it starts to get too hard, I just place the jar in a bowl of hot water and that helps it soften back up.