
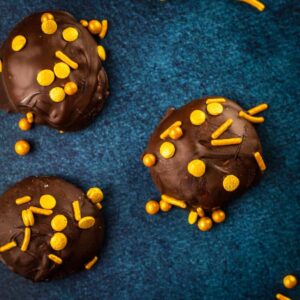
These dark chocolate covered marshmallows are the best homemade candy. Fluffy homemade marshmallow is dipped in dark chocolate and topped with sprinkles.
This post was originally published in December 2019 and has been updated for content.
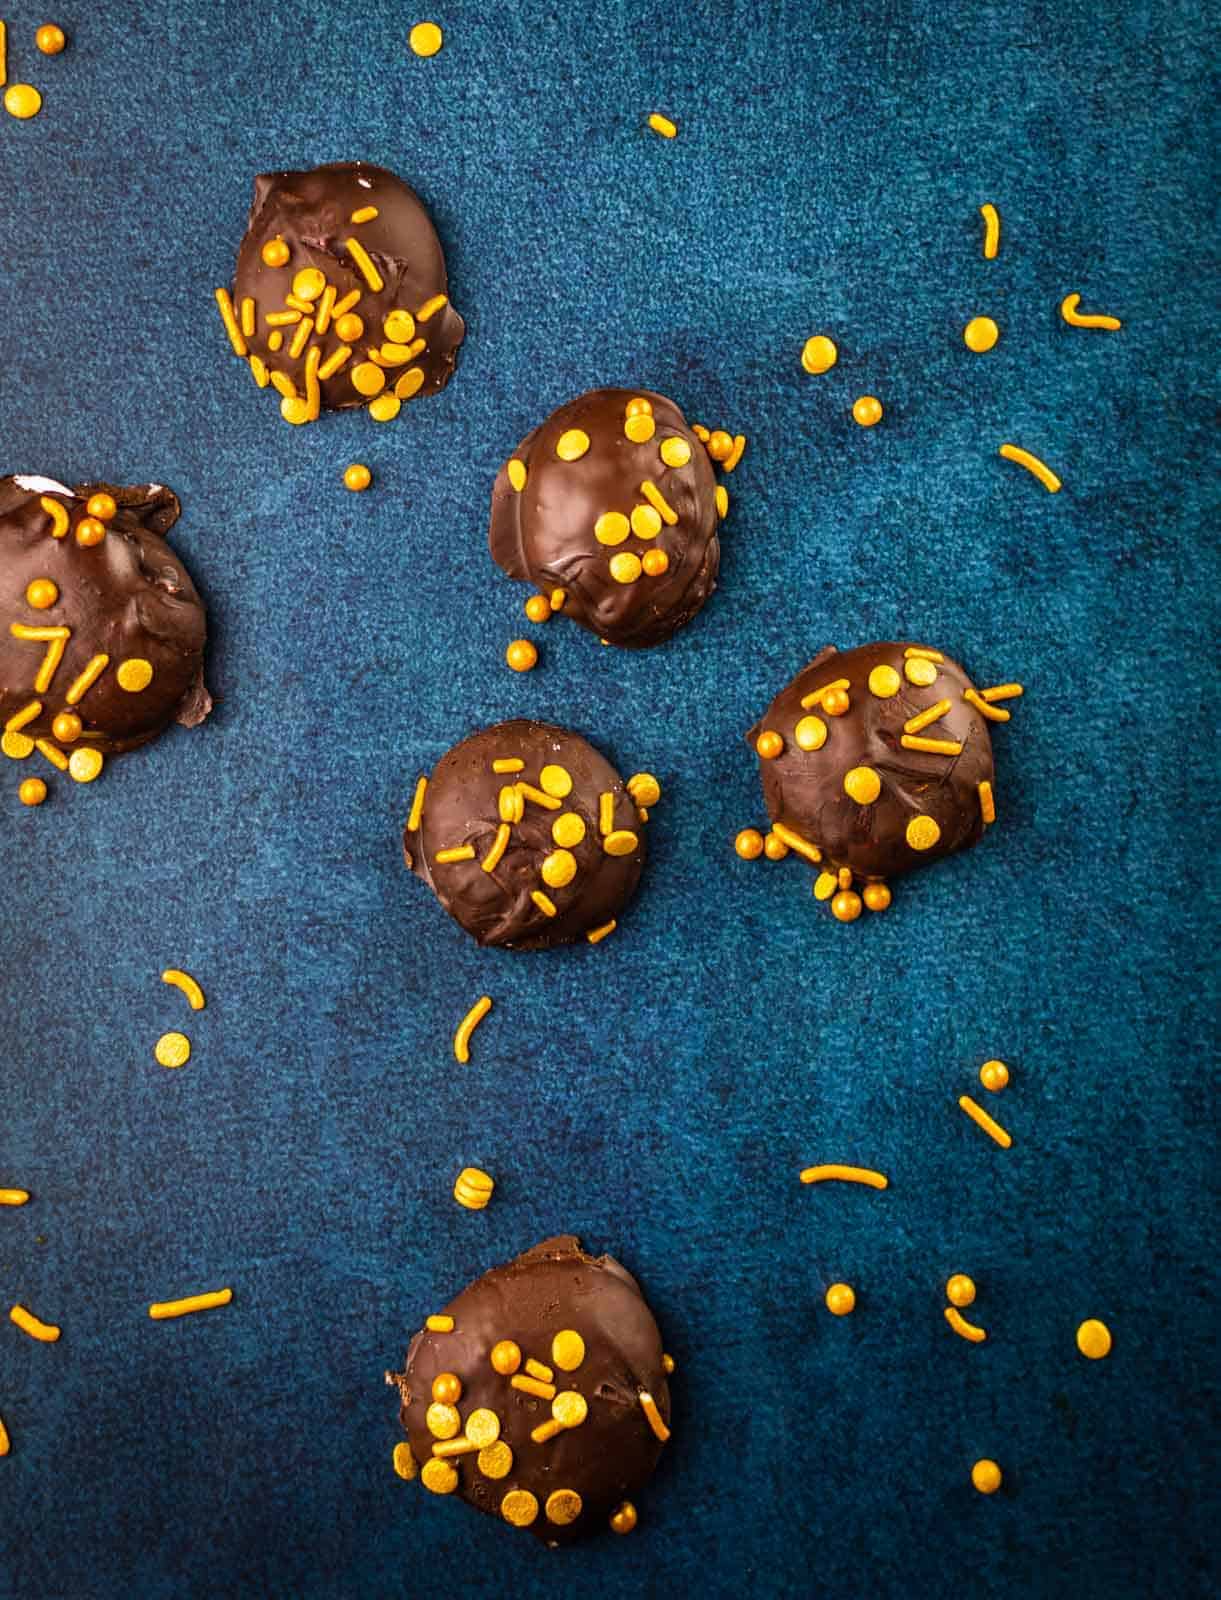
Homemade marshmallows are one of the funnest things to make. They take a bit of time, but their fluffy, soft texture blows store bought marshmallows out of the water. These sweet treats are dipped in dark chocolate and covered in sprinkles and are a great treat for the holidays or for a fun weekend baking project.
Jump to:
🍫 Ingredient notes
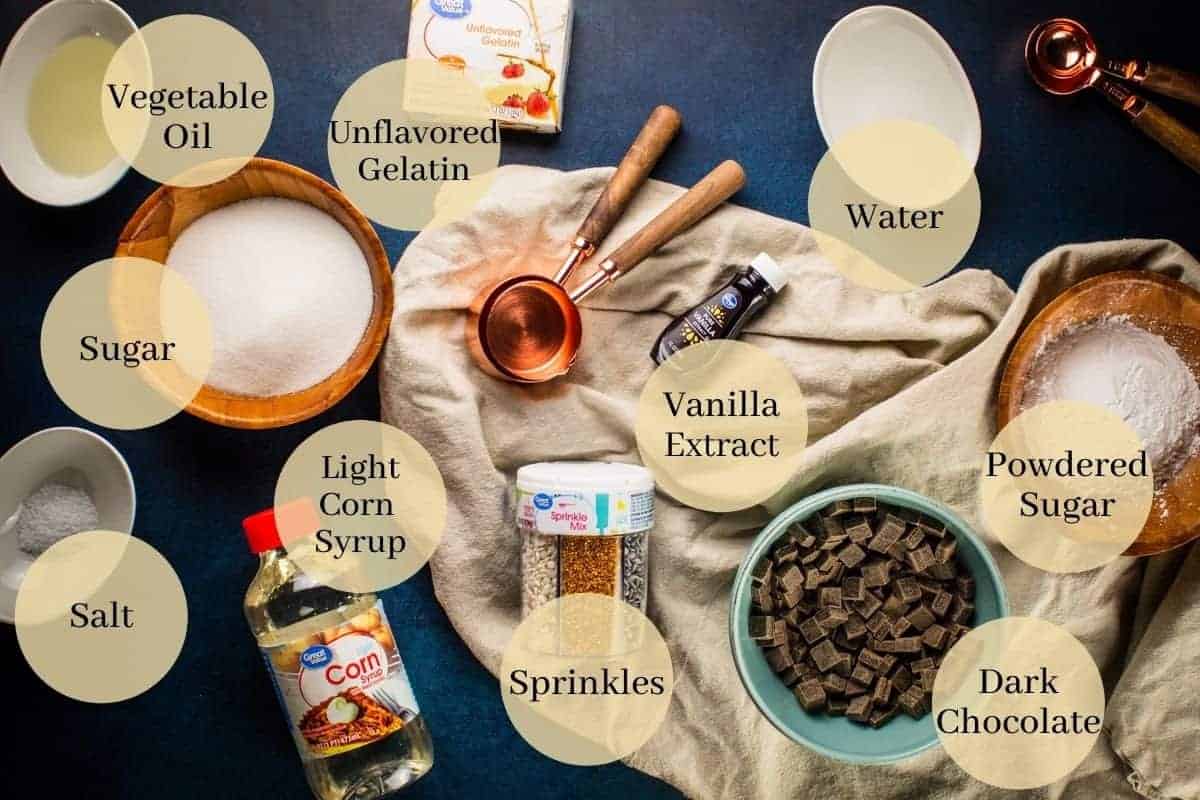
- Chocolate - Dark chocolate pairs with the fluffy vanilla flavored marshmallow and creates an outer shell to encase the marshmallow. Either dark chocolate chunks, chips or a bar that has been chopped into smaller pieces can be used.
- Marshmallow - This homemade marshmallow recipe is from Martha Stewart and comes out perfectly every time. For a quicker, easier version of this candy, use store bought marshmallows instead.
📋 Substitutions and variations
- Flavor - Replace the vanilla extract with strawberry, orange, lemon, almond, mint or peppermint extract for other fun flavors.
- Chocolate - Try using milk chocolate or white chocolate in place of the dark chocolate.
- Decoration - Any type or color sprinkles can be used and can be customized to the holiday or occasion.
- Shapes - Soft marshmallow that has only set for 1-2 hours can be rolled into balls or small logs for dipping. Stiffer marshmallow that has been allow to set for the full 3 hours or overnight can be cut into squares or other shapes with a cookie cutter or a knife.
🥣 Step by step instructions
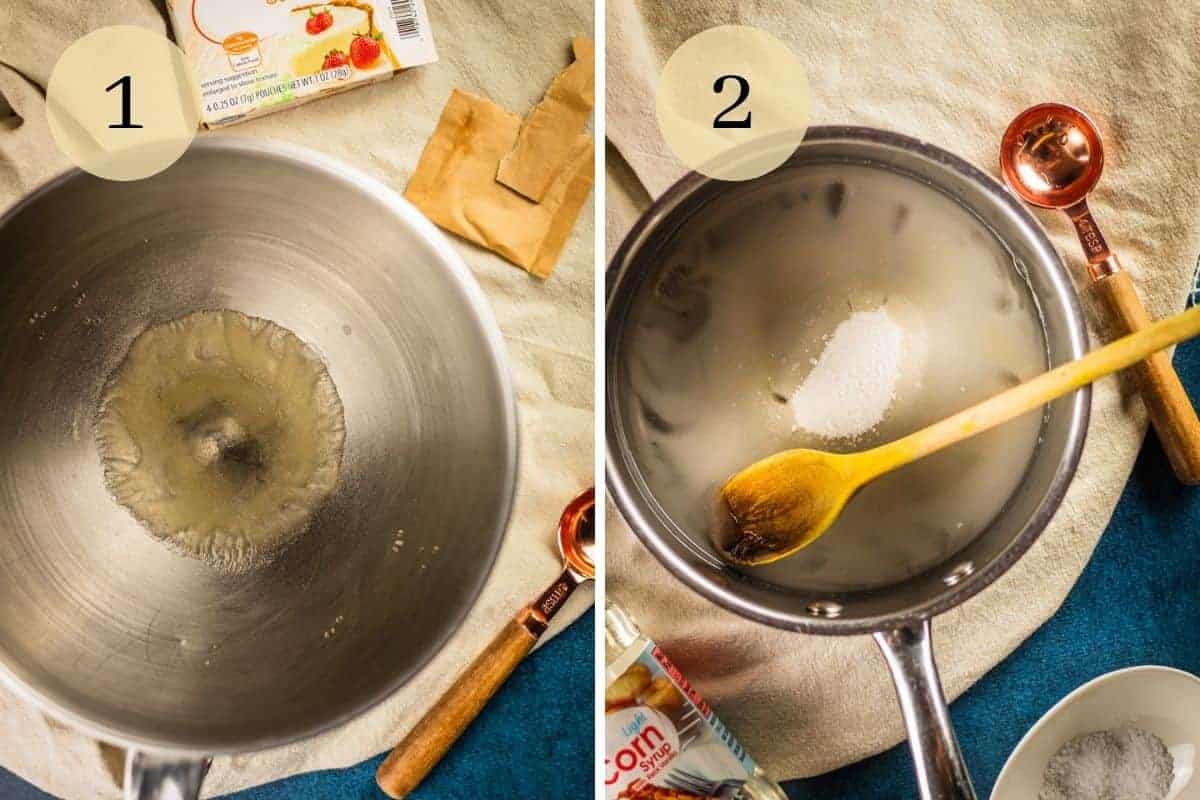
First, place the gelatin and half of the water in the bowl of a stand mixer or in a large mixing bowl and let it set for 5 minutes. Meanwhile, combine the remaining water with the sugar, corn syrup and salt in a pot on the stovetop over medium high heat. Stir the mixture until the sugar dissolves and then stop stirring.
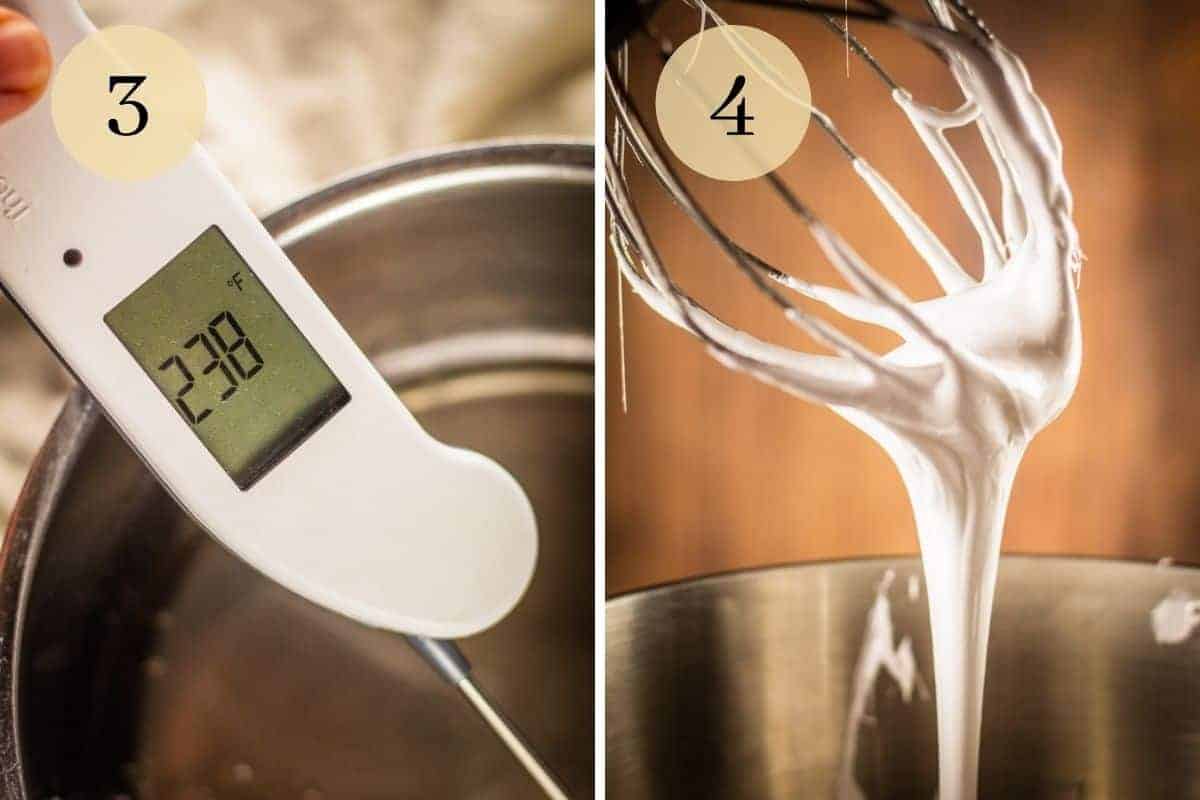
Allow the mixture to come 238˚ and then remove it from the heat. With the stand mixer or hand mixer on low speed, slowly drizzle in the sugar syrup. Slowly increase the speed of the mixer to high speed and beat until the marshmallow is cool and is starting to pull away from itself.
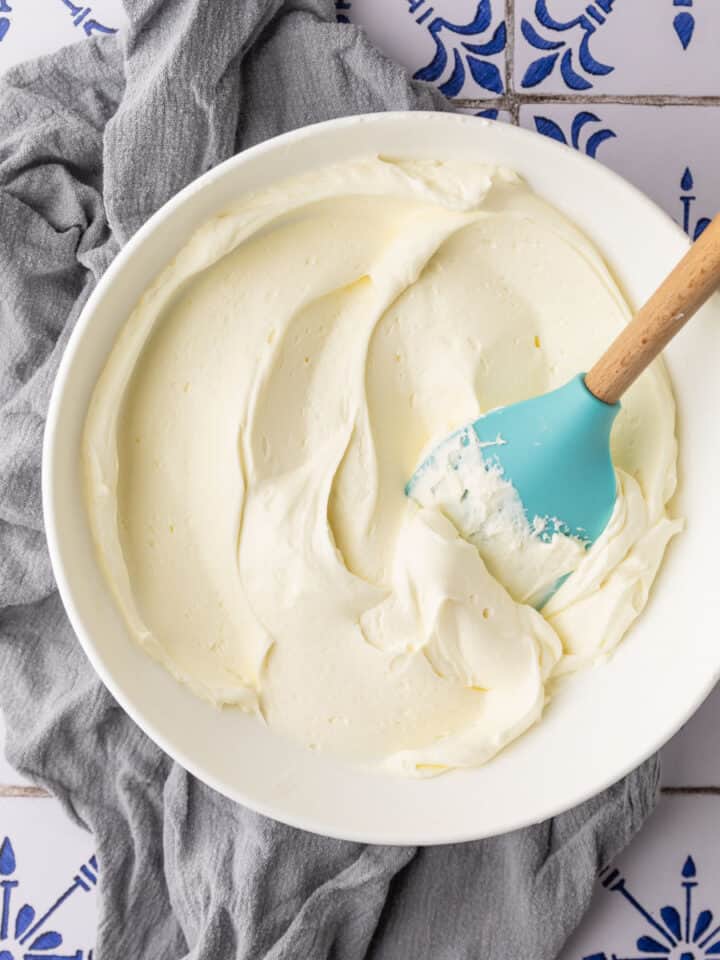
When you hold the beater up, the marshmallow should hold its shape for a few seconds before falling into the bowl and should be thick and shiny.
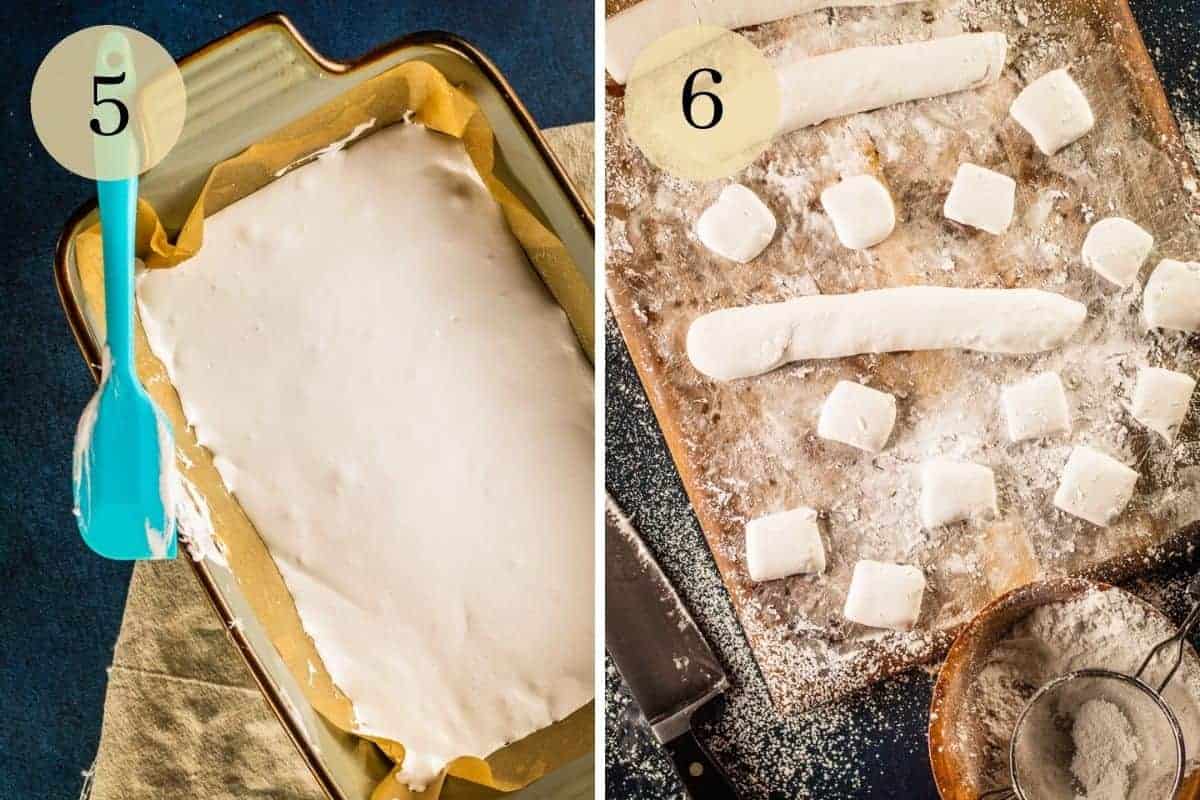
Pour the marshmallow mixture into a greased baking dish that has been also lined with parchment paper and allow it to cool and set.
Turn the marshmallow out onto a surface that has been sprinkled with powdered sugar and then flip it so the entire thing is covered in powdered sugar. Use an oiled knife to cut the marshmallow into strips and then squares.
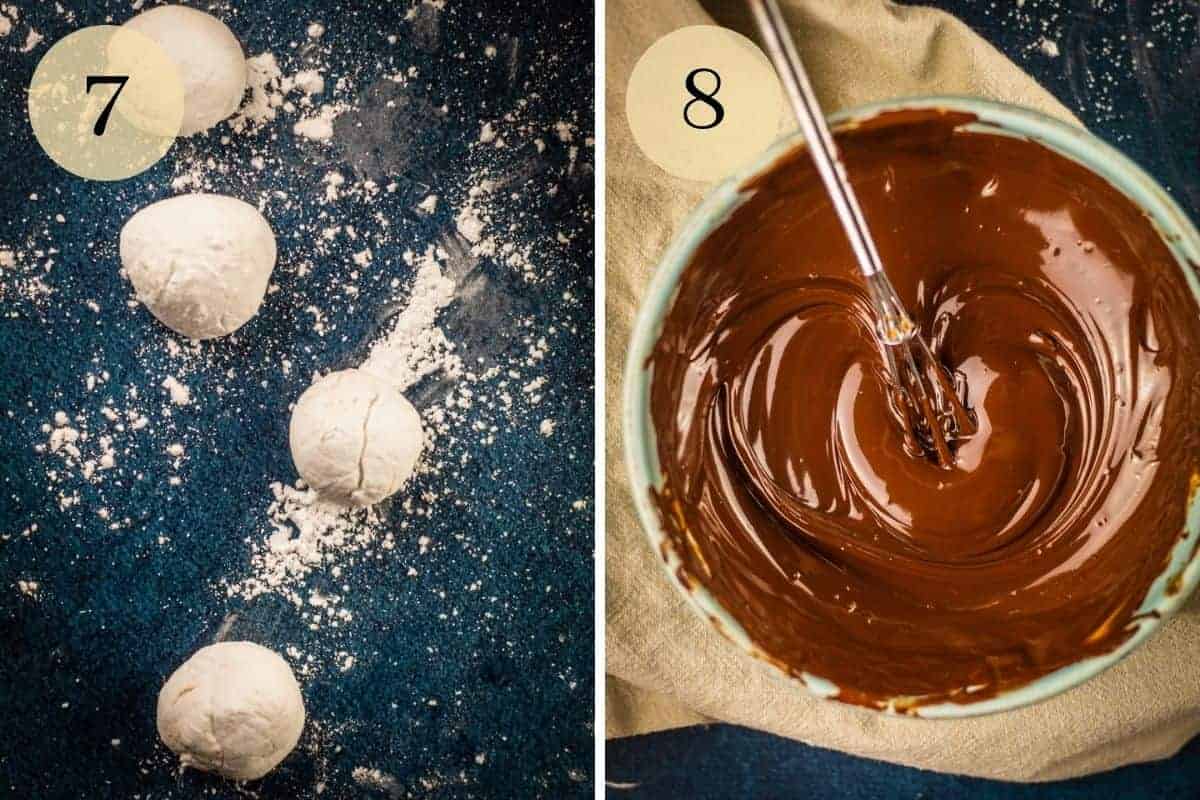
Soft marshmallows can then be rolled into balls or small logs for dipping, while stiffer marshmallows can be cut into various shapes.
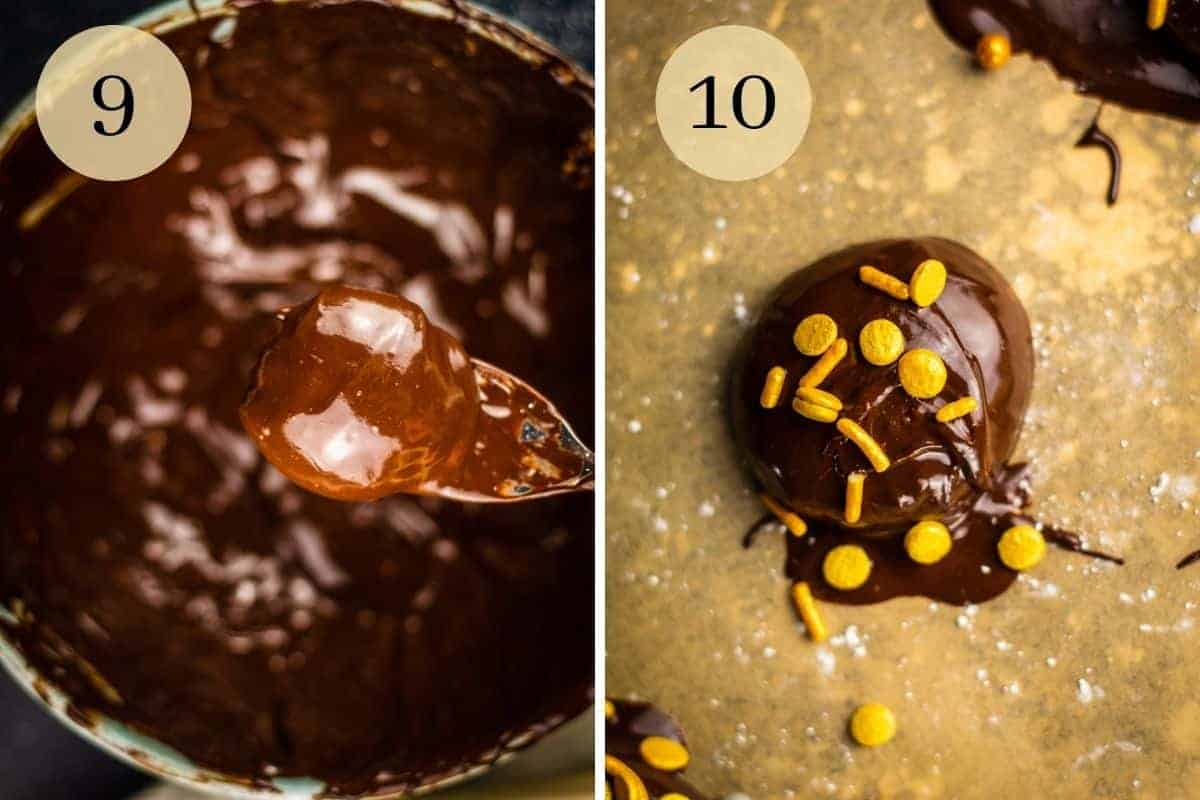
In a microwave safe bowl, combine the dark chocolate and vegetable oil. Microwave in 30 second intervals at 50% power, stirring in between until the chocolate is 75% melted and then continue to whisk it until the remaining chocolate melts.
Dip the marshmallow pieces into the melted chocolate and place them on a baking sheet lined with parchment paper or waxed paper. Cover with sprinkles and allow them to dry completely.
If you ever don't recognize a tool or skill that is mentioned, be sure to look it up in our Glossary of Cooking Terms and Definitions for more information.
⭐ Expert tips
- Make sure to allow the gelatin to sit in the water for at least 5 minutes to make sure it's properly softened.
- Invest in a decent kitchen thermometer to check the temperature of the sugar syrup.
- Add the sugar syrup SLOWLY so it doesn't splash up and incorporates thoroughly.
- Don't skimp on greasing the baking dish or the knife to cut the marshmallows, they will be sticky!
- For softer marshmallow, let them cool in the pan for just 1-2 hours. For stiffer marshmallows that will hold their shape better, let them cool for the full 3 hours or up to overnight for best results.
- If the chocolate starts to set up before you finish dipping, you can microwave it again to melt it using the same instructions.
💭 Frequently asked questions
Chocolate covered marshmallows don't need to be refrigerated and are best stored at room temperature in an airtight container to prevent them from drying out. If it's particularly hot outside, they can be placed in the refrigerator to set the chocolate.
⏲️ Make ahead and storage instructions
These marshmallows can be made ahead of time and will keep un dipped for up to two weeks when stored in an airtight container at room temperature.
Fully dipped and decorated marshmallows will last for up to one week when stored in an airtight container at room temperature.
🍫 More chocolate recipes
If you loved this recipe for my homemade dark chocolate covered marshmallows, check out these other chocolate recipes that I know you will love too!
- Chocolate Whiskey Brownies
- White Chocolate Bread Pudding
- Chocolate Dipped Biscotti
- Nutella Cheesecake
📖 Recipe
Chocolate Covered Marshmallows
Ingredients
- 2 envelopes unflavored gelatin
- 12 Tablespoons water divided
- 1 ½ cups granulated sugar
- 10 Tablespoons light corn syrup
- 1 pinch kosher salt
- 1 teaspoon vanilla extract
- 1 cup powdered sugar
- 16 ounces dark chocolate chunks
- 2 teaspoons vegetable oil plus extra for greasing
- sprinkles
Instructions
- Brush a 9"x13" baking dish with vegetable oil and line it with parchment paper.
- In the bowl of a stand mixer or a large mixing add 6 tablespoons of the water and sprinkle in both envelopes of gelatin.
- In a pot, add the remaining 6 tablespoons of water, granulated sugar, corn syrup, and salt. Bring the mixture to a boil over medium high heat, stirring until the sugar is dissolved.
- Once the sugar is dissolved, stop stirring it and continue to cook the syrup until the it registers 238° on a kitchen thermometer. Remove the syrup off of the heat.
- Using the whisk attachment for the stand mixer or using a hand mixer, start to beat the gelatin mixture on low speed. Slowly drizzle in the sugar syrup with the mixer running until all of it is incorporated.
- Slowly raise the speed of the mixer to high and beat for 10-12 minutes until the bowl is cool to the touch and the marshmallow starts to pull away from itself. The marshmallow should be thick and shiny and should hold its shape for a few seconds when held up on the whisk.
- Pour the marshmallow mixture into the prepared baking dish and use a rubber spatula to smooth it out. Set aside to allow it to set up. For softer marshmallow, allow it sit for 1-2 hours. For stiffer marshmallows that hold their shape well, allow to set for at least 3 hours or overnight for best results.
- Dust a work surface with half of the powdered sugar and turn out the marshmallow onto that surface. Flip over the marshmallow so that both sides are covered with the powdered sugar.
- Lightly brush a sharp knife with vegetable oil and cut the marshmallow into approximately 1 ½ inch squares. Softer marshmallows can then be rolled into balls or small logs for dipping. Stiffer marshmallows can be left in squares for dipping. Dust the pieces of shaped marshmallow with the remaining powdered sugar to prevent sticking.
- Line a sheet pan with waxed or parchment paper and set aside.
- In a microwave safe bowl, mix together the chocolate and vegetable oil. Microwave in 30 second increments at 50% power, stirring in between, until the chocolate is 75% melted. Continue to stir until the remaining chocolate is completely melted.
- Dip the marshmallow into the melted chocolate, using a fork to roll it around until all sides are covered. Place dipped marshmallows on the prepared sheet pan and cover with sprinkles.
- Allow the chocolate dipped marshmallows to dry completely before storing or serving.
Notes
- Make sure to allow the gelatin to sit in the water for at least 5 minutes so it's properly softened.
- Invest in a decent kitchen thermometer to check the temperature of the sugar syrup.
- Add the sugar syrup SLOWLY so it doesn't splash up and incorporates thoroughly.
- Don't skimp on greasing the baking dish or the knife to cut the marshmallows, they will be sticky!
- For softer marshmallow, let them cool in the pan for just 1-2 hours. For stiffer marshmallows that will hold their shape better, let them cool for the full 3 hours or up to overnight for best results.
- If the chocolate starts to set up before you finish dipping, microwave it again to melt it using the same instructions.
- Chocolate covered marshmallows don't need to be refrigerated and are best stored at room temperature in an airtight container to prevent them from drying out. If it's particularly hot outside, they can be placed in the refrigerator to set the chocolate.
Substitutions and Variations
- Chocolate - Either dark chocolate chunks, chips or a bar that has been chopped into smaller pieces can be used. Milk chocolate or white chocolate can also be used.
- Marshmallow - This homemade marshmallow recipe is from Martha Stewart and comes out perfectly every time. For a quicker, easier version of this candy, use store bought marshmallows instead.
- Decoration - Any type or color sprinkles can be used and can be customized to the holiday or occasion
- Shapes - Soft marshmallow that has only set for 1-2 hours can be rolled into balls or small logs for dipping. Stiffer marshmallow that has been allow to set for the full 3 hours or overnight can be cut into squares or other shapes with cookie cutter or a knife.
Comments
No Comments